The other week I was stumbling around the internet and I came across a blog that featured a recipe for homemade Vanilla Wafers. I haven’t had vanilla wafers in years, and they looked amazing. So I decided to give the recipe a try to see if the vanilla wafers tasted as good as they looked.
These are some extremely tasty cookies.
Vanilla Wafers – (From EzraPoundCake)
- 1 cup (8 oz/250 g) unsalted butter, at room temperature
- 1/2 cup (4 oz/125 g) sugar
- 1/4 teaspoon salt
- 2 large egg yolks
- 1 tablespoon vanilla extract
- 2 cups (10 oz/315 g) all-purpose flour
Combine the butter, sugar and salt in a bowl and using an electric mixer combine until the mixture is light and fluffy.
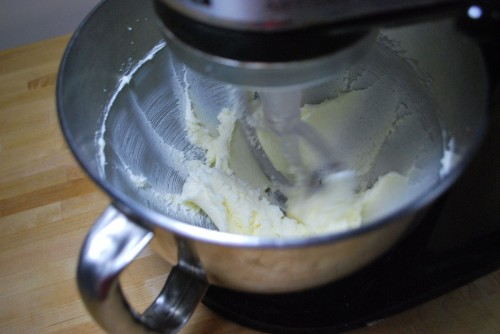
Add the vanilla and egg yolks to the mixture. Mix slowly until incorporated.
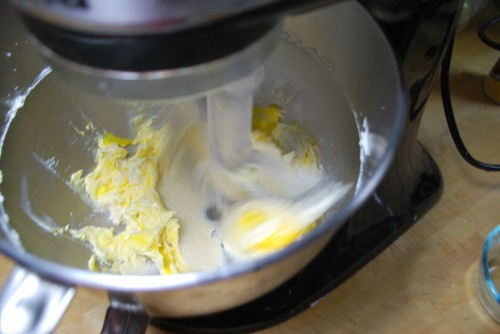
Add the flour and continue to mix until the dough forms a nice smooth ball.
Split the dough into three equal portions. Form each portion into a log with a diameter of around an inch/inch and a half.
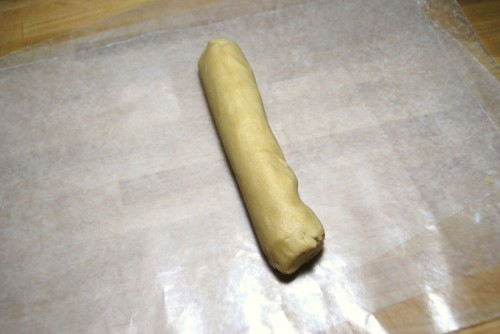
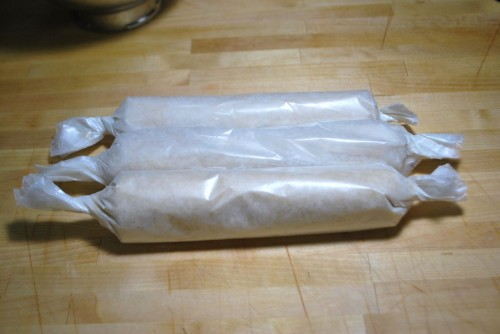
Wrap the logs in wax paper and refrigerate for a couple of hours until the dough is firm.
When you are ready to bake, preheat the oven to 350 degrees.
Remove the dough from the fridge, unwrap and cut into 1/4 in thick rounds.
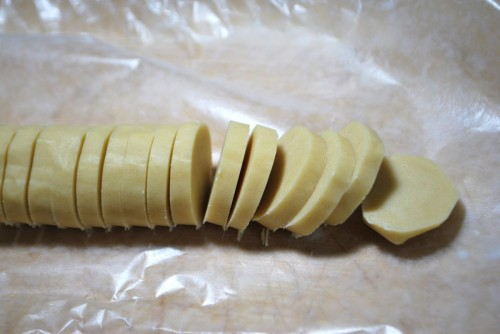
Place the rounds onto a parchment/silpat lined cookie sheet.
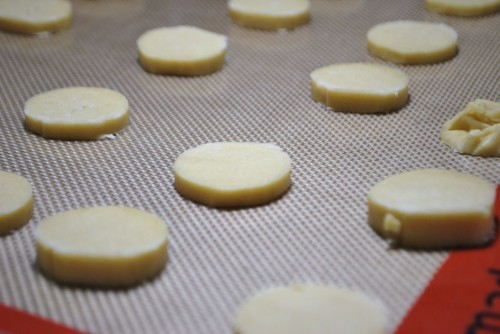
Bake in the preheated 350 degree oven until the edges are browned, 12-15 minutes.
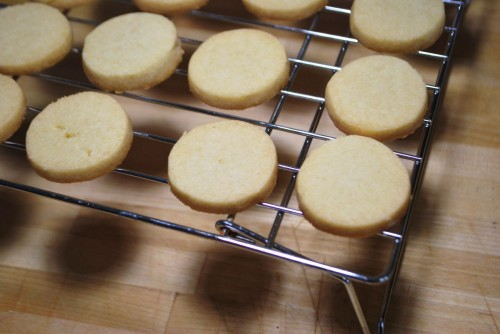
When the cookies are browned, remove from the oven and let cool on the cookie sheet for around 5 minutes.
After 5 minutes move the cookies to a cooling rack and let them cool until room temperature.
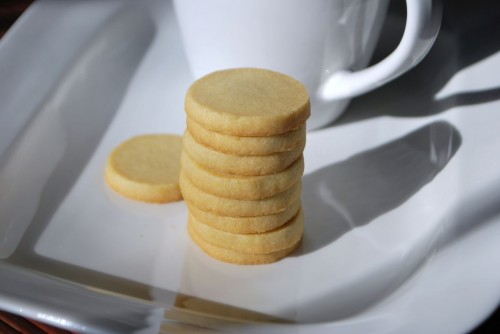
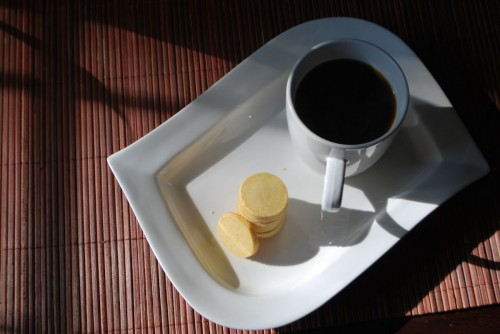
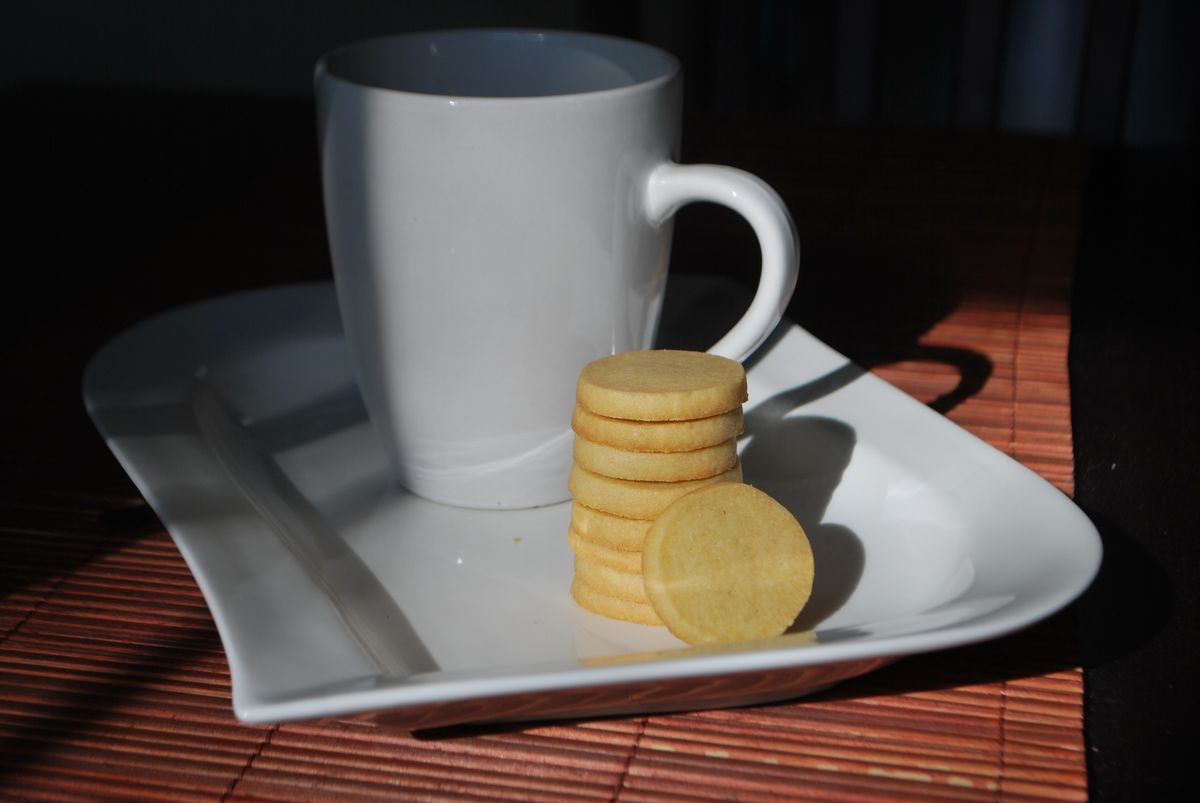
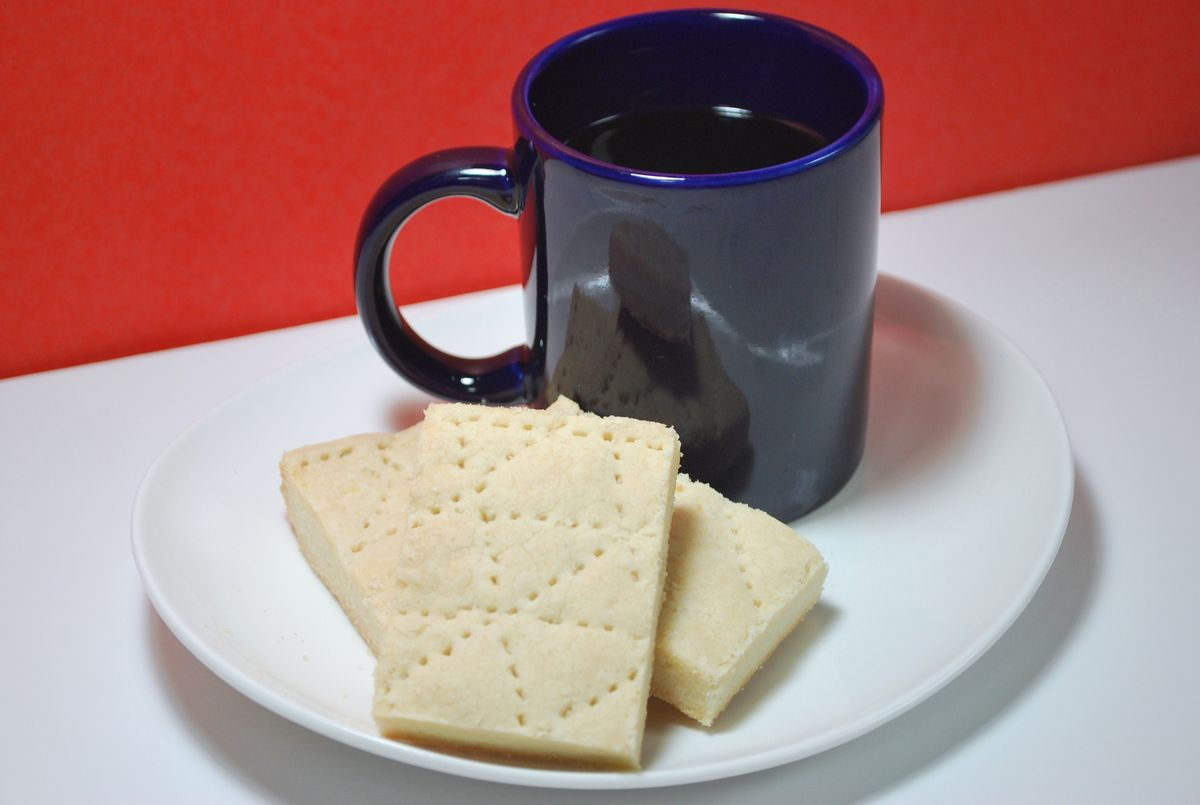
Serve with coffee for the ultimate snack.
It is noted you do not need to cook all three logs of cookies at one time. You can refrigerate the dough for 2 days or freeze it for up to 2 months.



What temperature are you supposed to bake them at? It would help if you would say. Thanks!
Sorry, I am working on making my recipes easier to read. The oven temperature in the preheat line, but I can see how that was overlooked. To make the recipe easier to read I have added another line with the oven temperature in the baking step too. Sorry about that.
No way my cookies would come out looking that perfectly round. 🙂 Beautiful photos!!
Suzanne it is actually pretty easy to get them round. Just use wax paper to form logs. Then partially freeze them to get the dough a little harder. Then when you take them out of the freezer you can shape them into a perfectly round log. After that just cut into rounds. Thanks for the comment.
Get over it. Digital photography is easy BUT you don’t have to over do it! Ask yourself, does this picture make it easier for the reader to understand how to make this recipe. If the answer is “no”, THEN DON’T INCLUDE IT!
We know what butter mixing with sugar looks like. We know what wafers on a wire rack look like. We know what a wrapped roll of dough looks like. WE ARE NOT STUPID!
Less is really more in this case.
These look and sound delicious! I'm going to try them sometime soon.
On a side note, I always enjoy seeing photos that follow the baking steps, and if you don't, or are offended by their addition, you don't need to attack the writer of the blog for your personal opinion. These photos are gorgeous, and I hope when I make these wafers they look half as appetizing in my kitchen!
Mai – why thank you. I appreciate your words of wisdom.
Wow Jojo, have you got a failed blog yourself or something? You seem to have some issues…
Jojo = troll jo. Not to mention a dumbass.
Jojo, write the cooking magazines and tell them you know how to do things, so to please leave out the photos. I'm sure they'll bow down to your expertise.
Lynda and Dave thanks for backing me up. It is appreciated. I respect the opinion of Jojo. Jojo has his or her reasons for hating photos. Maybe it was a run in with a bad photographer when he or she was a kid. Who knows. Either way if they don't like the format of my blog they can read another one. Once again I appreciate you guys sticking up for me. Thanks again. – Rex
Thank you for the description as well. I am a visual learner, so I appreciate the pictures. It also helps me to see how the cookies could look if following your recipe. Don't mind Jojo.
Jojo, just read the instructions, and pretend the pictures are not there!
Thanks Jeanine. I like the pictures too. Jojo writes that on every post of mine that he/she reads. If you do read this jojo, you can click on the print this post link at the top of any of the pages and it will bring up the recipe and instructions without pictures. Thanks again for the words of encouragement Jeanine.
Since i have still am perfecting our culinary skills, I appreciate you sharing these with us! I have an apple slicer/corer that i use almost every day to slice apples for my girls and for me, and I also work with a mini food processor (concerning $30 at Target) for quick chopping and dicing. My husband asked for a throw iron skillet for Holiday (my parents gave him one), and he swears by it. Asking for cookware like a gift is not within my future:). Piper Castagnola
I just couldn’t depart your website before suggesting that I really enjoyed the standard info a person supply to your guests? Is gonna be again ceaselessly to investigate cross-check new posts