The other day I wanted something sweet and I could not figure out exactly what to make. Then I was doing a little searching on the internet and came across a red velvet cake. My mom used to make red velvet cake, but I totally forgot about it. Reminiscing I decided to make one.
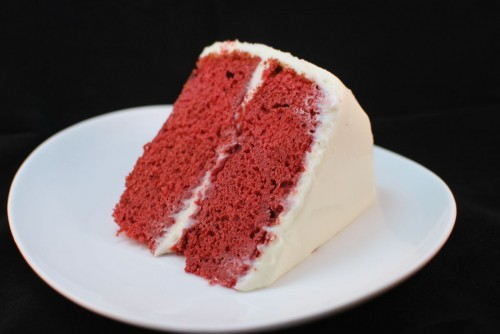
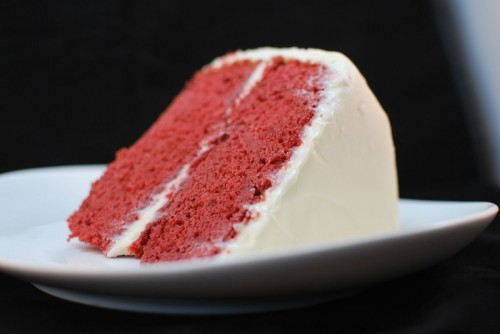
As you can see the white of the frosting and the rich red cake make a perfect looking dessert.
Red Velvet Cake – (From Pinch My Salt)
- 2 1/2 cups sifted cake flour*
- 1 teaspoon baking powder
- 1 teaspoon salt
- 2 Tablespoons cocoa powder (unsweetened)
- 2 oz. red food coloring
- 1/2 cup unsalted butter, at room temperature
- 1 1/2 cups sugar
- 2 eggs, at room temperature
- 1 teaspoon vanilla extract
- 1 cup buttermilk, at room temperature
- 1 teaspoon white vinegar
- 1 teaspoon baking soda
Cream Cheese Frosting
- 16 oz. cream cheese (2 packages), softened
- 1/2 cup unsalted butter (one stick), softened
- 1 teaspoon vanilla extract
- 2 1/2 cups powdered sugar, sifted
- pinch of salt
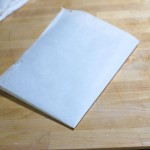
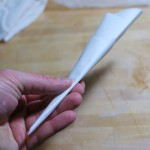
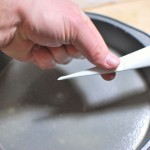
Preheat oven to 350 degrees. Butter and flour two 9-inch round cake pans or three 8-inch round cake pans. I also find that placing parchment on the bottom of the pans helps the rounds come out of the pans easier. I have included a pictorial on how to make perfectly round parchment pieces for the pans. It is very similar to making paper snow flakes.
 |
 |
 |
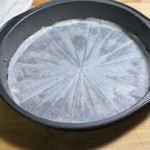 |
From the top left – fold the parchment in half and then in half again. Top right – fold the parchment on the diagonal. Make sure to fold with the point being the one that will be in the center of the circle, if not you will end up with a half circle. If that happens try again. Bottom left – hold the point in the center of the pan and cut the parchment to size. Bottom right – unfold and place the parchment in the pan.
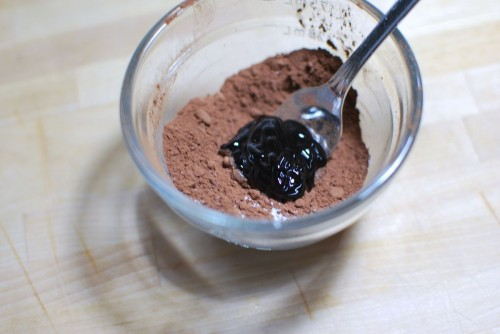
Sift the flour, baking powder and salt onto a piece of parchment or wax paper. This will allow you to easily funnel the dry ingredients into your mixer bowl. Separately mix the cocoa powder and food coloring into a small bowl. The original recipe was for liquid coloring and all I could find was gel coloring. The pre-mixing the color and cocoa to form a paste does not really work with the get coloring. So if you have gels add the coloring directly to the bowl later on. If you have liquid food coloring, mix it together to form a paste.
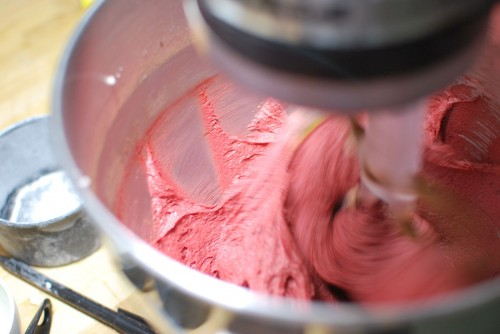
In the bowl of a stand mixer, beat butter and sugar together until light and fluffy. When fluffly, Beat in eggs, one at a time, then beat in vanilla and the red cocoa paste (or the cocoa and red food coloring gel). Reduce the speed to low and add one third of the flour mixture to the butter mixture, beat well, then beat in half of the buttermilk. Beat in another third of flour mixture, then second half of buttermilk. End with the last third of the flour mixture, beat until well combined, making sure to scrape down the bowl.
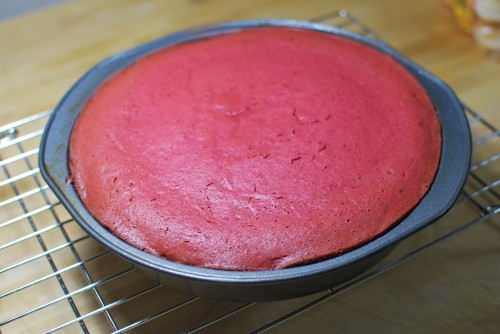
Line up the greased and parchment lined cake pans. In a small bowl add the vinegar and baking soda. Give it a quick stir, let it fizz and add it to the batter. Working quickly, divide batter evenly between the cake pans and place them in a preheated 350 degree oven. Bake for 25-30 minutes. Check early, cake is done when it starts to pull away from the edges of the pan and a toothpick inserted in the center comes out clean.
Cool the cakes in their pans on a wire rack for 10 minutes. To remove the cakes from the pan, place a wire rack on top of the cake pan and invert, then gently lift the pan. Allow cakes to cool completely before frosting.
Frosting
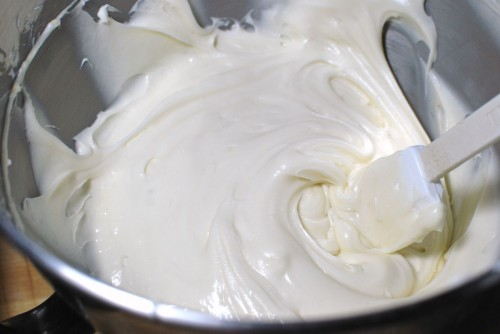
With an electric mixer, blend together cream cheese and butter until smooth. Turn mixer to low speed and blend in powdered sugar, salt and vanilla extract. Turn mixer on high and beat until light and fluffy. Use immediately or refrigerate, covered, until ready to use. If refrigerated, the frosting will need to be brought to room temperature before using (after frosting softens up, beat with mixer until smooth).
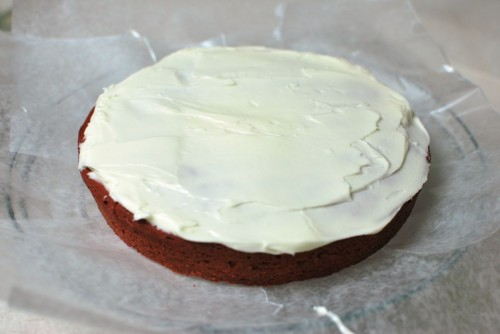
Place the cake on a pedestal or serving plate. Lining the outer edges of the cake with wax paper will help keep the serving tray clean. When you are done icing, just remove the wax paper to reveal a clean serving tray. Cover with 1/4 of the frosting.
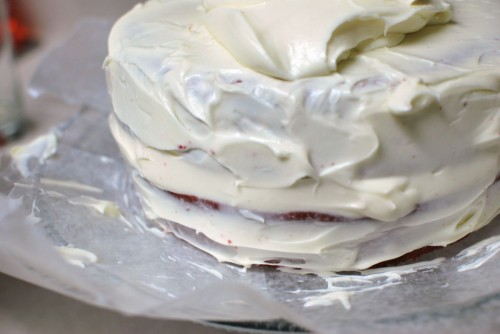
Place the second cake top side down onto the iced cake. The bottom of the cake is nice and flat and will make your final cake look the best. Cover with 1/2 of the remaining icing. This will be a crumb coat. There will be some crumbs in this. It will be alright as we are going to put another coat on top of it.
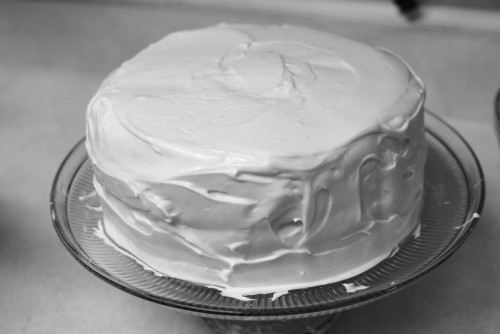
Clean the spreader/knife and cover the cake with the remaining icing. This will be the final coat. Since the crumbs are stuck in the previous layer this layer will be white and crumb free. Well hopefully crumb free. For best results, place the cake in the refrigerator for 10 minutes after doing the crumb coat. That way the icing will set and you won’t have to worry about crumbs at all.
This cake was delicious. The cream cheese frosting with the red lightly chocolate cake was amazing.


Did your mom's have cream cheese frosting? Grandma's has some kind of cooked frosting that I've never seen anywhere else. I'm a cream cheese fan myself! 🙂
Aunt Heidi, I am pretty sure that my Mom's does not have cream cheese frosting. I am a huge fan of cream cheese frosting so I added it to my cake. It is delicious.
Rex, this post was worth reading for the parchment paper tip alone. I learned a new trick! Guess I'm not an old dog just yet.
I can see that you are an expert at the area! I'm starting an internet site quickly, as well as your info will be very helpful for me.. Many thanks for all your help and wishing you all the achievement in your company.