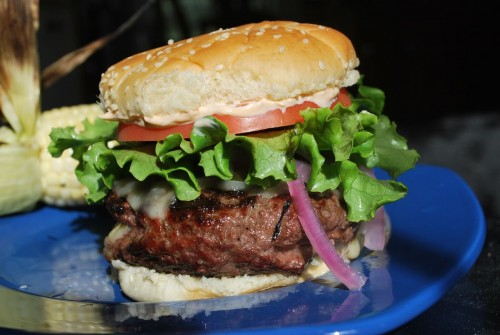
Since today is Memorial Day I decided to create a couple of dishes that are perfect for grilling out. I am going to make a Pepperjack and Jalapeno stuffed burger topped with a spicy mayo and a quick pickle of onions and jalapenos. I call it my “Two Steps From Hell Burger”. The burger is very spicy. Since corn is in season and the local Giant has 12 ears for 1.88, I figured I would grill up some corn. Grilling corn sounds easy but to get it right takes some work. Most people don’t grill it for long enough, or else they grill it too long and it becomes chewy. Neither are good eats.
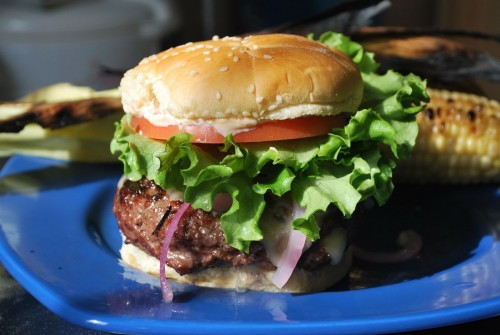
Two steps from Hell Burger – (makes 2 half pound burgers)
- 1 lb ground beef – Preferably 70/30 as anything else is too lean and you will end up with a dry burger.
- 1 jalapeno pepper
- 6 slices of pepperjack cheese
- salt and pepper
- peppered bacon
- spicy mayo
- pickled onions and jalapenos
To make the burgers, portion the meat into four equal pieces. Roughly 4ozs each.
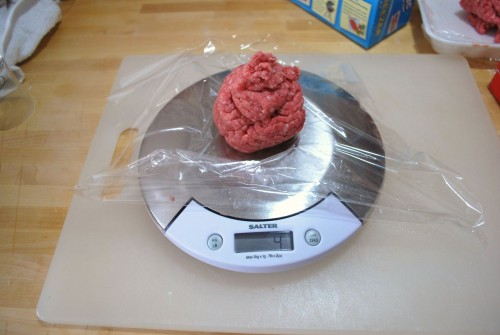
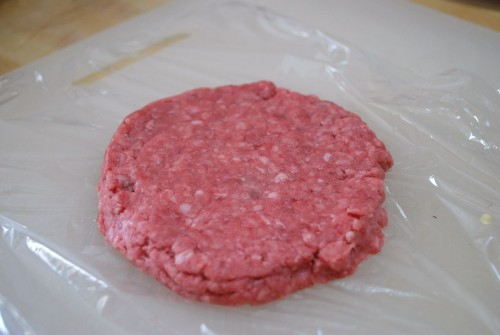
Then roll each piece into a ball. Then flatten each of the balls to make four even patties. I would say that they are roughly 3.5-4 inches in diameter. Then season the patties with salt and pepper.
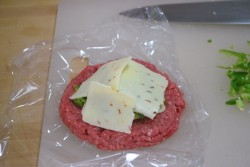
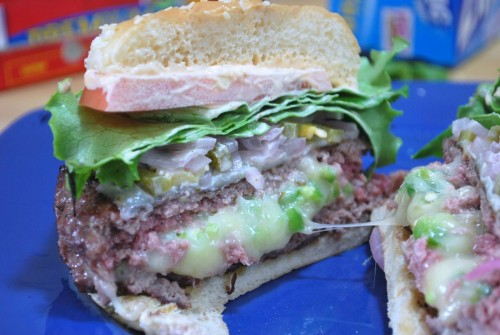
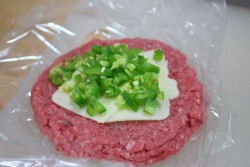
Take one patty and place the pepper jack cheese in the middle. You may have to cut the cheese slice and arrange it so that there is a half inch edge of meat around the cheese. You need this barrier in order to seal the burger. Then place 3-4 jalapeno rings on top of the cheese and top with one more slice of pepperjack.
 |
Then place one of the remaining patties on top of the cheese layered patty. Seal the edge of the burger with your fingers. Make sure to make a tight seal or else the cheese will ooze out of the burger when it cooks.
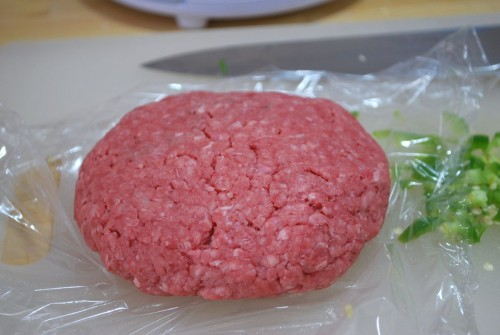
Then grill the burgers over Medium/High heat until the burger is the desired temperature. This is a thick burger. For medium rare it took roughly 5 minutes on each side.
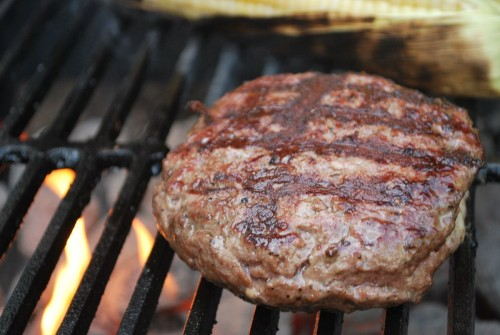
After you flip the burger wait 4 minutes then place another slice of pepperjack on the burger patty. Close your grill lid and let the cheese melt before removing the burger.
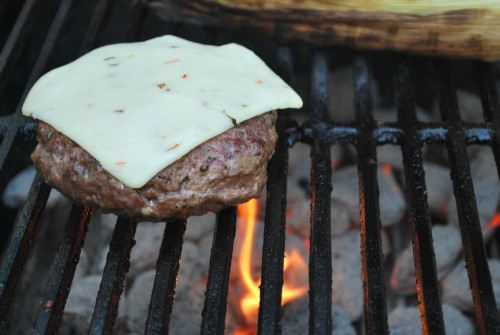
Make sure to let the burger rest for 2-3 minutes before serving.
Grilled Corn
- 2 to infinite number of ears of corn – (I don’t have a grill big enough to cook infinite numbers but if you do send me a pic)
- large bucket, bowl or pitcher
- water
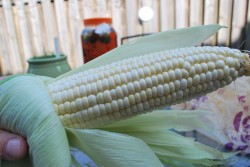
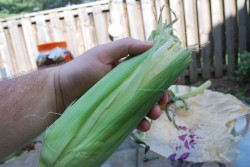
To make grilled corn I first pull back the outer husks to remove the corn silk.
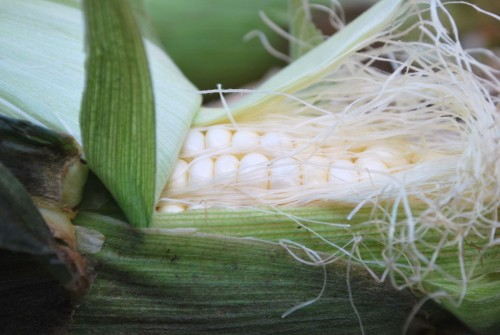
Then I layer the husks back over the corn. At this point I remove the outer most husks leaving the inner bright green husks.
|
|
|
Then I soak the ears for 30-60 minutes. I find that pitchers work great for soaking corn. They are the perfect shape and they are easy to handle when grilling.
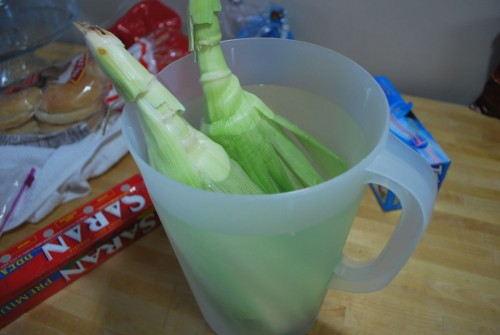
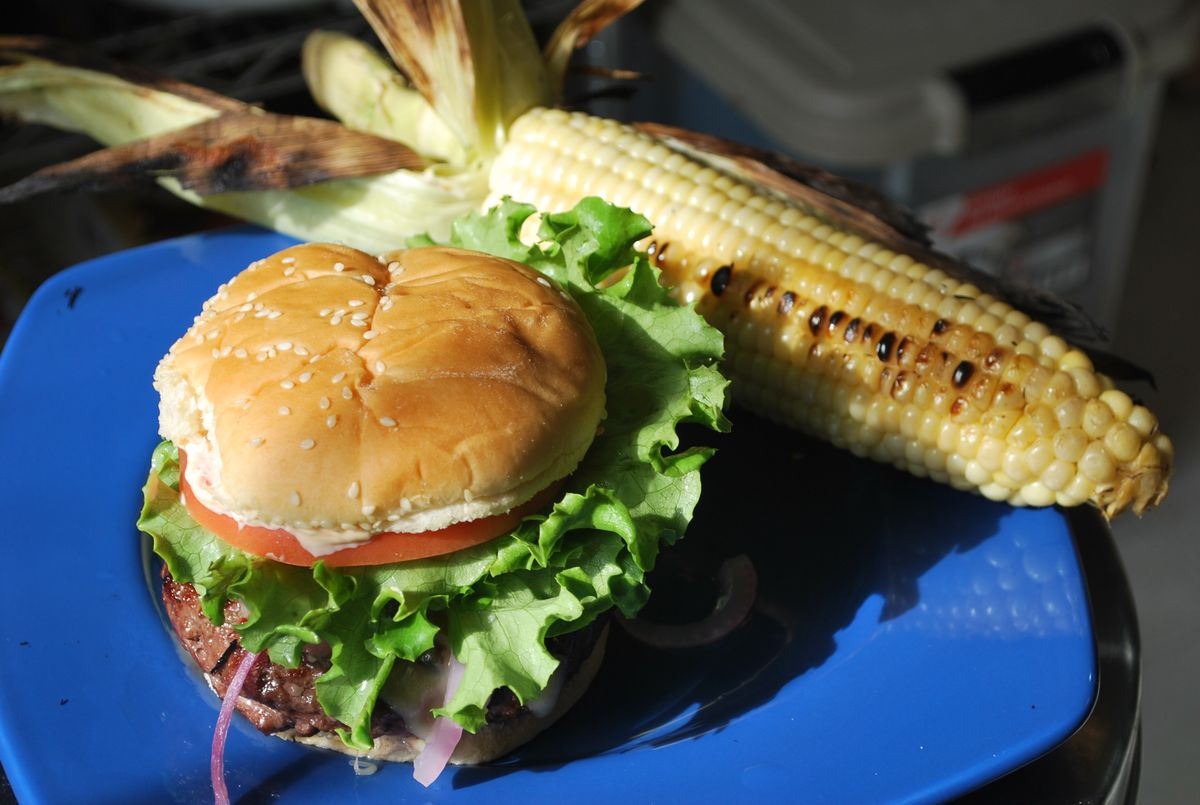
Once the corn is done soaking I drain the water from the container and then place the corn with the husks directly onto the grill. This allows the corn to steam while it is being grilled. This will help cook the corn without overly cooking it. Second the husks protect the kernels from flare ups. The husks will burn but the kernels don’t.
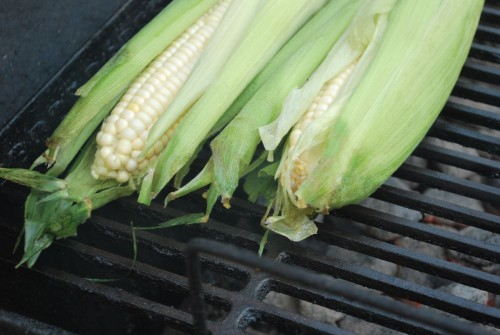
You only need to rotate the corn 3 times. When the husk starts to blacken, rotate the corn. Usually about every 5 minutes. Once you have made a full rotation of the corn it is done. Remember chewy corn is bad corn. You want it cooked but still a bit crunchy.
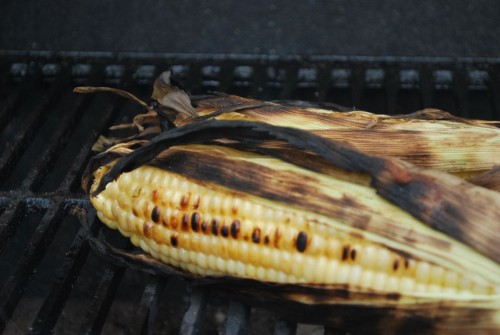
Serve with butter and salt. You can also add some chili pepper to butter and baste that over the corn.
Pickled Onion and Jalapenos – (adapted from “The Joy of Pickling”)
- 1 medium red onion
- 4 jalapeno peppers
- 1/2 cup white distilled vinegar
- 1/2 cup water
- 1 tsp pickling or kosher salt
First slice the onion into thin onion rings or half rings. Slice the jalapenos into 1/8 inch slices.
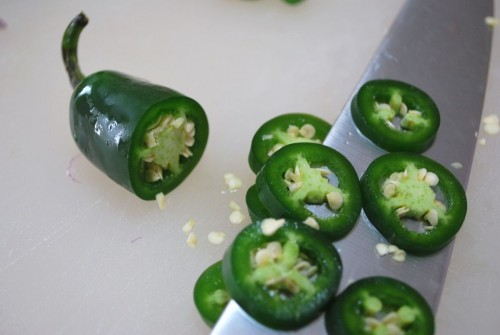
Place the onion and jalapenos into a bowl and cover with boiling water for 1 minute.
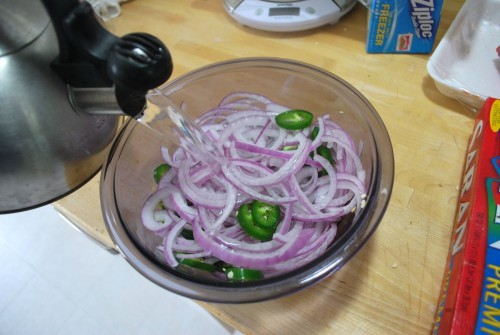
Drain and then add the vinegar, water and salt.
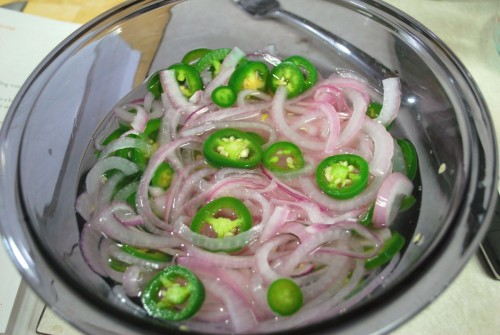
Let the onion and jalapenos pickle for an hour before serving.
Spicy Mayo
- 1 cup mayonaise
- 1 tsp hot sauce
- 1 tsp chili powder
- 1/4 tsp salt
- dash of pepper
- 1/2 tsp lemon juice
Combine all of the ingredients and stir.
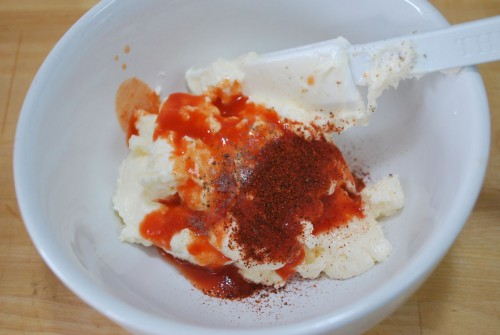
Let sit for 30 minutes to let the flavors meld before serving.
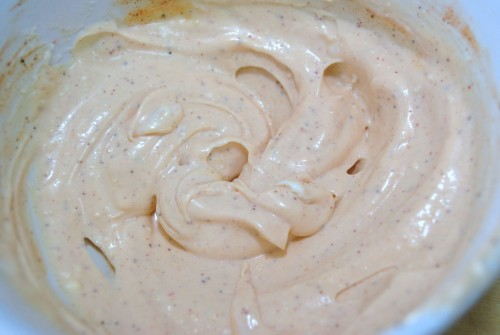
This is great for any sandwich but it is especially awesome on burgers.
Peppered Bacon
- 4 strips of peppered bacon per burger
- foil lined pan
- cooling rack
The first step is to cook the bacon. I like to bake my bacon in the oven. It comes out looking nicer. Set your oven to 400. Then you need a sheet pan lined with aluminum. Then put a baking rack over the foil.
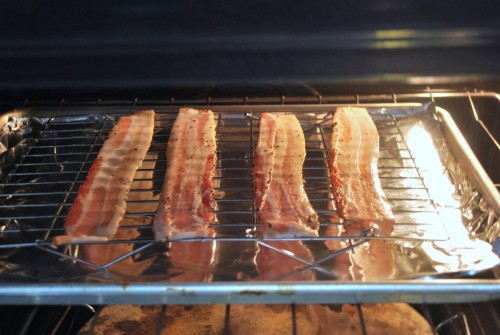
Then put the bacon in strips on the rack. If you have a rack with grates you can push the bacon between the grates for a nice rippled look or else you can lay it flat. Put in the oven for 20-30 minutes or until it is the desired crispyness.
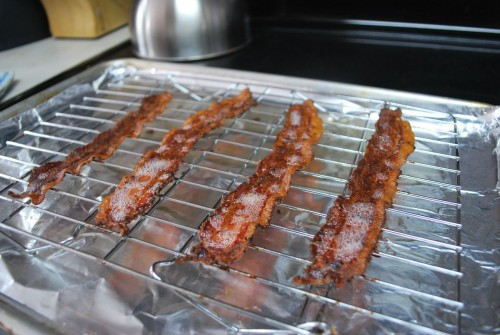
Then after about 20-25 minutes remove from the oven and let it cool.
Assembly
Lay our your bun and spread the spicy mayo on both halves. This will protect the bun from the grease of the burger. The mayo acts as a protective barrier to help keep the bun from getting too mushy. Then layer tomato and lettuce on the top half.
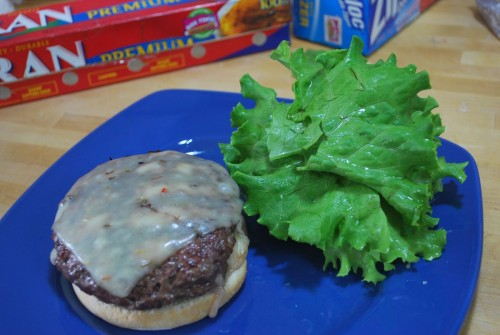
On the bottom half layer the burger patty, pickled onions and jalapenos and the peppered bacon. Gently place the top over the bottom half and you have created the two steps from hell burger.
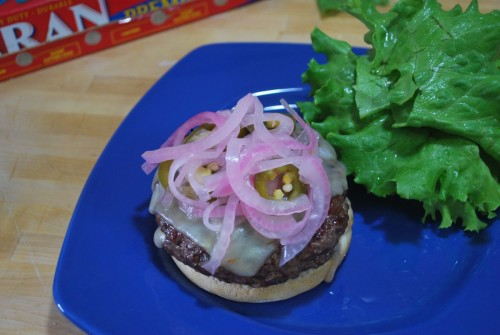
Serve it with the grilled corn and you have the ultimate Memorial Day menu.
Here is the burger cut in half. How amazing does that look.
Quite possibly the spiciest and tastiest creation I have ever made.
Have a safe and happy memorial day. I would also like to thank all of the troops for everything that they are doing for us. Thanks again.


man this looks damn yummy!
great step by step pics too! good work
that looks fantastic…love hot stuff on my burgers-well, on anything!
I agree, I love hot and spicy stuff on everything.
Sure makes the burgers I made tonight look like lightweights! 🙂 Great photos!!
Why the name?
@Dickered Fischer – The name came from the spiciness of the burger. I didn’t think that it had enough spice to call it a hell burger. It was almost there, but we all know a hell burger would have to have some ghost chilies in it, or at least some habaneros. Sorry to disappoint, but this was not named after the guys from the awesome music house of Two Steps from Hell. However, I would love the guys from Two Steps From Hell to use it as their official burger. Let me know and I will whip up a few for the studio.
Two Step From HELLS BURGERS NICE!
Hey. Just making this now! So far all is well! I just hope it doesn't explode!!! Wish me luck!!!