It is the start of another work week and I need something to power me through work. The energy source of choice, the good ole Bagel. I was looking for a good recipe and found it hard to come by. Then I happened to StumbleUpon John D Lee’s homemade bagel recipe. This recipe looked great and seemed pretty easy to do.
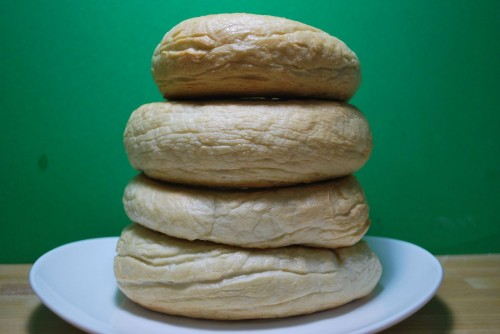
They don’t have a nice smooth texture on the outside, but that is due to my bad rolling technique and the fact that I had too much flour on my table. Since the dough was not wet enough they developed cracks. 🙁
Homemade Bagels via (John D Lee’s homemade bagel recipe)
- 4 cups bread flour
- 1 1/4 to 1 1/2 cups of warm water
- 1 tbs sugar
- 1 tbs vegetable oil
- 2 tsp instant yeast
- 1 1/2 tsp salt
Place all of the ingredients in a bowl or the bowl of your favorite mixer.
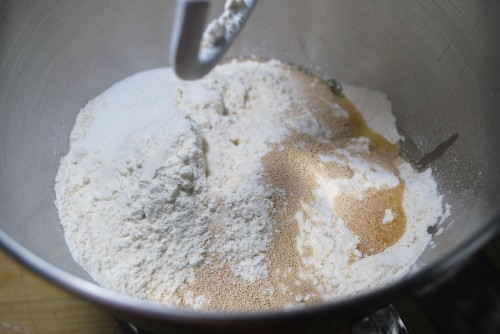
Mix until it is incorporated. The dough should be stiff but if it is like a rock add a bit more water.
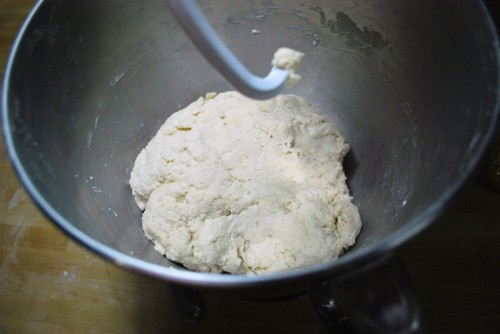
Next roll the dough out onto a floured surface and knead it until the dough is uniform and smooth.
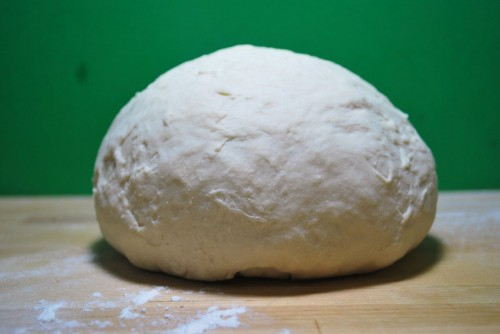
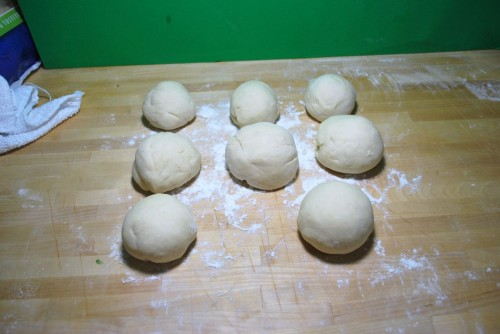
I had a little too much flour on my bench and this was the point where the dough ball started to get lines.
Next cut the dough into 8 equal sized mini dough balls and let rest for about 20 minutes.
This next step is a bit tricky. Take the dough balls and roll them into snakes. Then when the snake is about 10-12 inches long form the bagel. To form, take one end and hold it with your little finger. Then wrap the snake around the backside of your hand. Then when the other end meets the end under your little finger, fuse the ends together. This is done by rolling the ends together with a little pressure.

After all of the bagels are made, cover them with a towel and let rise for another 20 minutes. At this time fill the biggest pot you have with water and bring it to a boil. Also preheat your oven to 425 degrees.
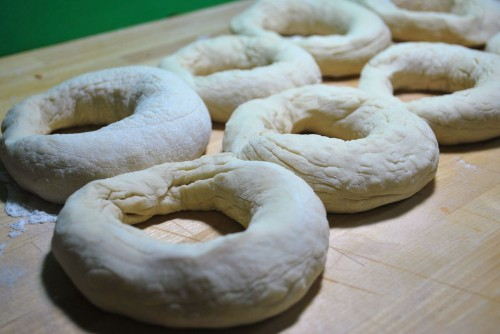
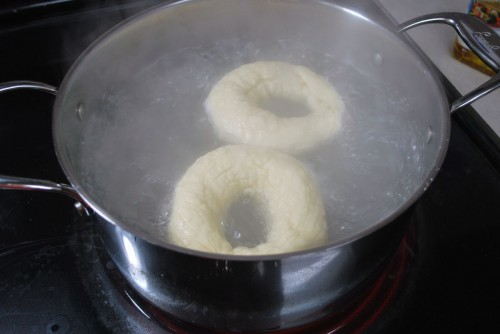
Once you have let your bagels rise, they should be puffy and ready for a bath. Place them gently into the boiling water. Make sure not to overcrowd them. Boil for a minute, flip and boil for another minute.
When done remove them to a drying rack until all of the bagels are boiled.
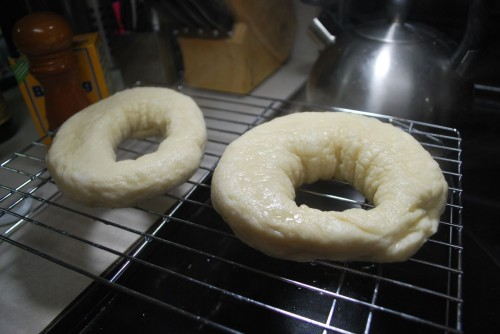
When all of the bagels have been boiled and have had time to dry, place them on a greased baking sheet.
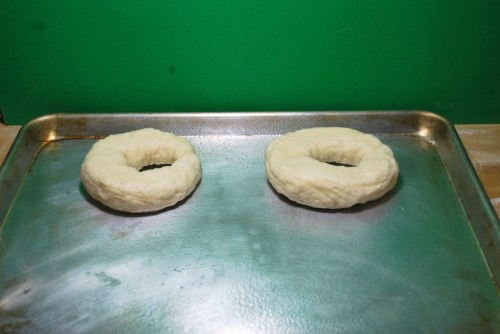
Place the tray in the oven and bake for 10 minutes. Remove the tray as it is time to flip the bagels.
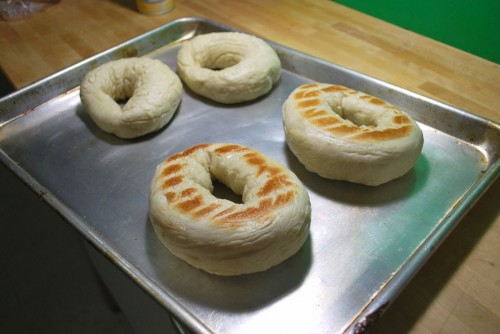
Place back in the oven and bake for another 10 minutes. When done, remove the bagels from the oven and place on cooling racks. Let cool for 20 minutes.
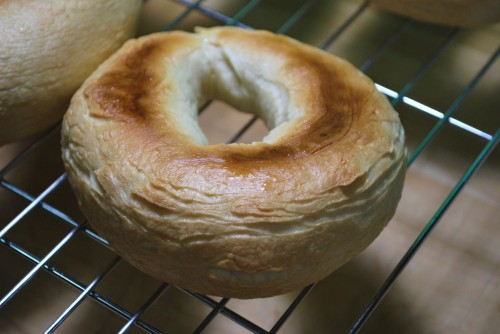
After the bagels have cooled, you can eat them, freeze them or stack them like I did.

You can also cut them in half, toast them and serve them with your favorite topping. Call me old fashioned, but I like butter.
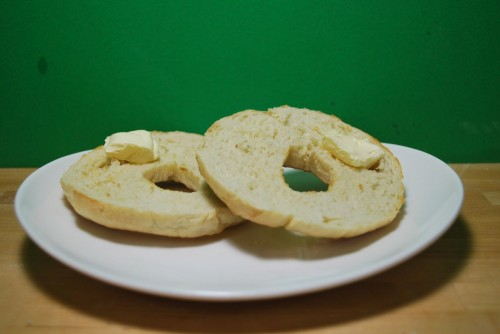
Besides the few wrinkles on the outer edge, these bagels are magnificent. Nice hard outside with a chewy middle. They are in one word, “Glorious”. The whole process took about 2 hours and made 8 perfect bagels. Perfect for the whole week. If you are going to eat them for a whole week, make sure to freeze them.
Enjoy!


I never thought to try and make my own bagels, but you made it look pretty easy..