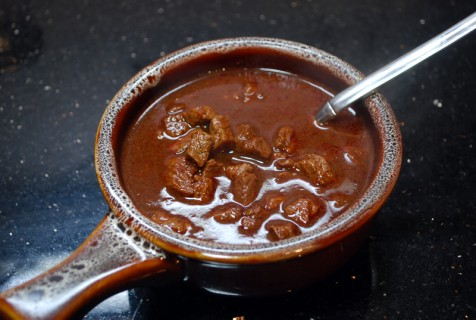
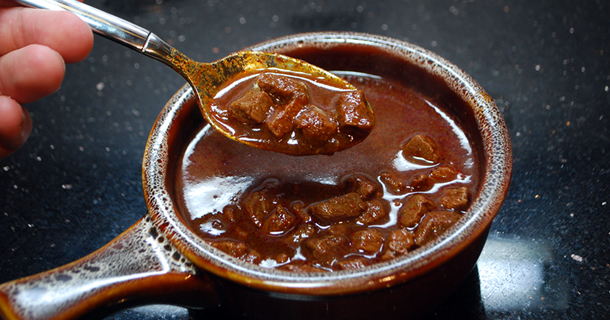
I have always wanted to enter into a chili competition but never had the time. So I decided I would make a nice competition chili at home to see what the differences are between it and normal chili. For one, Competition chili does not have beans. It can not have any fillers such as noodles or rice. It has to be meat, seasonings and that is about it. So I made a batch and Dana loved it. Even though it was a little spicier than she normally likes, it was a hit. If you like chili you will have to try this out!
Trimming the Meat
I purchased a beef chuck roast. I then proceeded to cube it into 1/4-1/2 inch cubes. The more uniform the size the better. Make sure to trim the meat to remove all of the fat and connecting tissue.
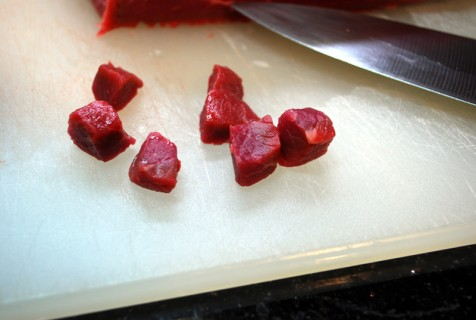
As you can see the cubes are small and this step is quite time consuming.
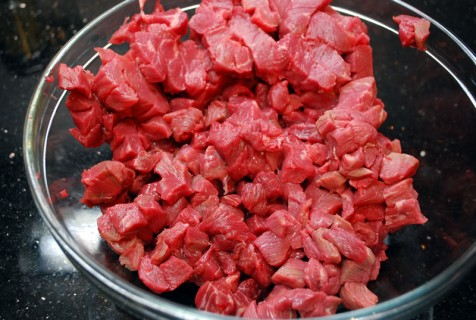
But it is necessary for the best results.
The Dump
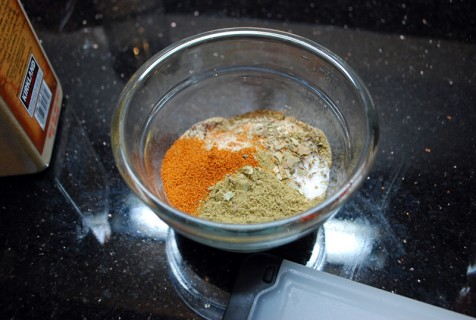
In a small bowl combine the Chili Powder, Cumin, Onion Powder, Garlic Powder, Salt, White Pepper, Cayenne Pepper, Oregano and Bay Leaf. Mix together and then split into three equal portions (called dumps). It is funny I know.
The Beef
In a heavy based dutch oven or stock pot, heat the pan over medium heat. Add the vegetable oil and then toss in the beef.
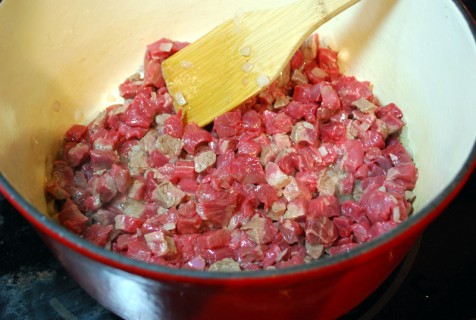
Once the meat is browned, add the Franks Red Hot, tomato sauce, beef base and enough beef broth to cover the meat. It may not take the whole container.
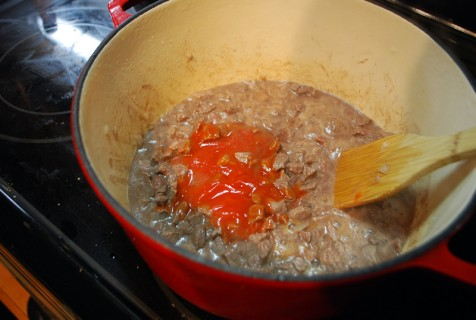
Cover and simmer for an hour.
Layering the Spice
Add the first portion (AKA the first dump) to the pot, stir. Add more beef broth if the meat is not fully covered. Cover and cook for 1 hour.
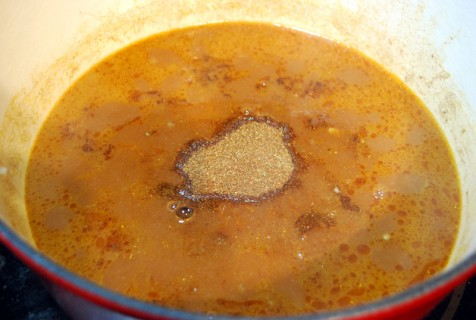
Add the second portion (AKA the second dump) to the pot, stir. Add more beef broth if the meat is not fully covered. Cover and cook for 1/2 hour.
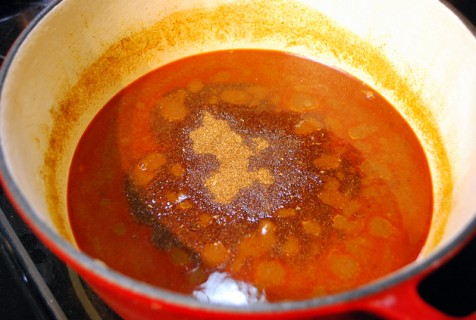
Add the final portion (AKA the final dump) to the pot, stir. Cover for 15 minutes and the chili is ready. Serve straight up and enjoy.
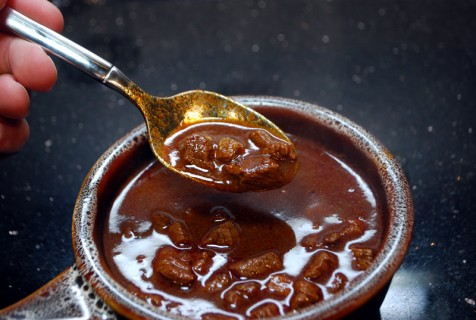
This chili was awesome! Dana hates spice, but she said that this chili was the best! It is the perfect balance of awesome flavor and spice.

- 3 pounds trimmed Beef Chuck cubed into 1/4-1/2 inch cubes.
- 2 tbs Vegetable Oil
- 32 oz Beef Broth low sodium
- 1 tsp Franks Red Hot
- 8 oz can Tomato Sauce
- 5 tbs Chili Powder
- 2 tbs Beef Base
- 1 tbs Onion Powder
- 4 tsp Cumin
- 2 tsp Garlic Powder
- 1/2 tsp Salt
- 1/2 tsp White Pepper
- 1/2 tsp Cayenne Pepper
- 1/2 tsp Paprika
- 1/4 tsp Black Pepper
- 1/4 tsp Oregano
- 1/2 Bay Leaf Crushed
-
Cube the meat into 1/4-1/2 inch cubes
-
In a small bowl combine the Chili Powder, Cumin, Onion Powder, Garlic Powder, Salt, White Pepper, Cayenne Pepper, Oregano and Bay Leaf. Mix together and then split into three equal portions (called dumps). It is funny I know.
-
In a heavy based dutch oven or stock pot, heat the pan over medium heat. Add the vegetable oil and then toss in the beef.
-
Once the meat is browned, add the Franks Red Hot, tomato sauce, beef base and enough beef broth to cover the meat. It may not take the whole container.
-
Cover and simmer for an hour.
-
Add the first portion (AKA the first dump) to the pot, stir. Add more beef broth if the meat is not fully covered. Cover and cook for 1 hour.
-
Add the second portion (AKA the second dump) to the pot, stir. Add more beef broth if the meat is not fully covered. Cover and cook for 1/2 hour.
-
Add the final portion (AKA the final dump) to the pot, stir. Cover for 15 minutes and the chili is ready. Serve straight up and enjoy.
Tips
Splitting the spices up into three separate dumps allows you to layer the flavor. It keeps the punch in the chili.
Also only adding enough broth each time to cover the meat keeps the potency up and allows the flavors to effectively permeate the meat. So, I know it sounds easier, but don't add all of the broth at the beginning.
Tips
Splitting the spices up into three separate dumps allows you to layer the flavor. It keeps the punch in the chili.
Also only adding enough broth each time to cover the meat keeps the potency up and allows the flavors to effectively permeate the meat. So, I know it sounds easier, but don’t add all of the broth at the beginning.



Good basic recipe. For competition, after you cube your meat, wrap in paper towels to absorb blood. This will help you get a more "red" color to your chili. When the blood cooks it turns brown. The "dump" is right on. This recipe is easily modified for other flavors. Trial and error/experimentation. Good way to pass the time in the kitchen during the winter months. Also, this recipe freezes well.
I made a comp style chili once and it wasn't my favorite. Maybe it's because growing up the only chili I knew was with ground beef and beans.
@Corky – Thanks for the tips, I will have to dry the meat next time.
@Chris – I have made others and this one was delicious. I think it was layering the flavors with the multiple dumps. Also the meat was cut so small I did not miss the "Midwest normal" of ground beef.
Rex, I've never tried a Comp style chili either – but you make it look so easy. Nice break down of the steps.
You've inspired me to give it a try. Thanks for the recipe.
Thanks Brian. I am glad that I could spark your interest in competition chili.
This was very informative and thought provoking. I'm from Texas, so I've had a lot of chili in my day. But the idea of adding in the ingredients one at a time to layer flavor is an idea I'd never heard. I'll be sure to try this technique.
Kit – I have tried this many different ways and the layering of flavor makes all of the difference. Especially if you are going to serve the chili the moment that you are done making it.
If I cooked this the night before do you think heating it up in the crock pot would work????
Andrew I am sure that you could do this, but I can't guarantee that the meat will be perfect. I would cook it till step 7. Then reheat till warm, on low in a crockpot. Probably will take 2 hours. Then do step 8 by adding the final dump and then serve after simmering for 15 minutes.
Awesome thats what I am going to do tonight! Hope it works out. Before Adding the final dump should I bring the temp up to hot in the crockpot?
Ill report back tomorrow on how it tasted
Heat it up before adding the final dump. Then add it and allow to simmer for 15 minutes.